

Configuration Steps
1
Select Your Assistant
From the left panel, click on Assistants and select the specific assistant you want to configure.
2
Navigate to Tools
Under the assistant’s settings, go to the Tools tab and select Webhooks.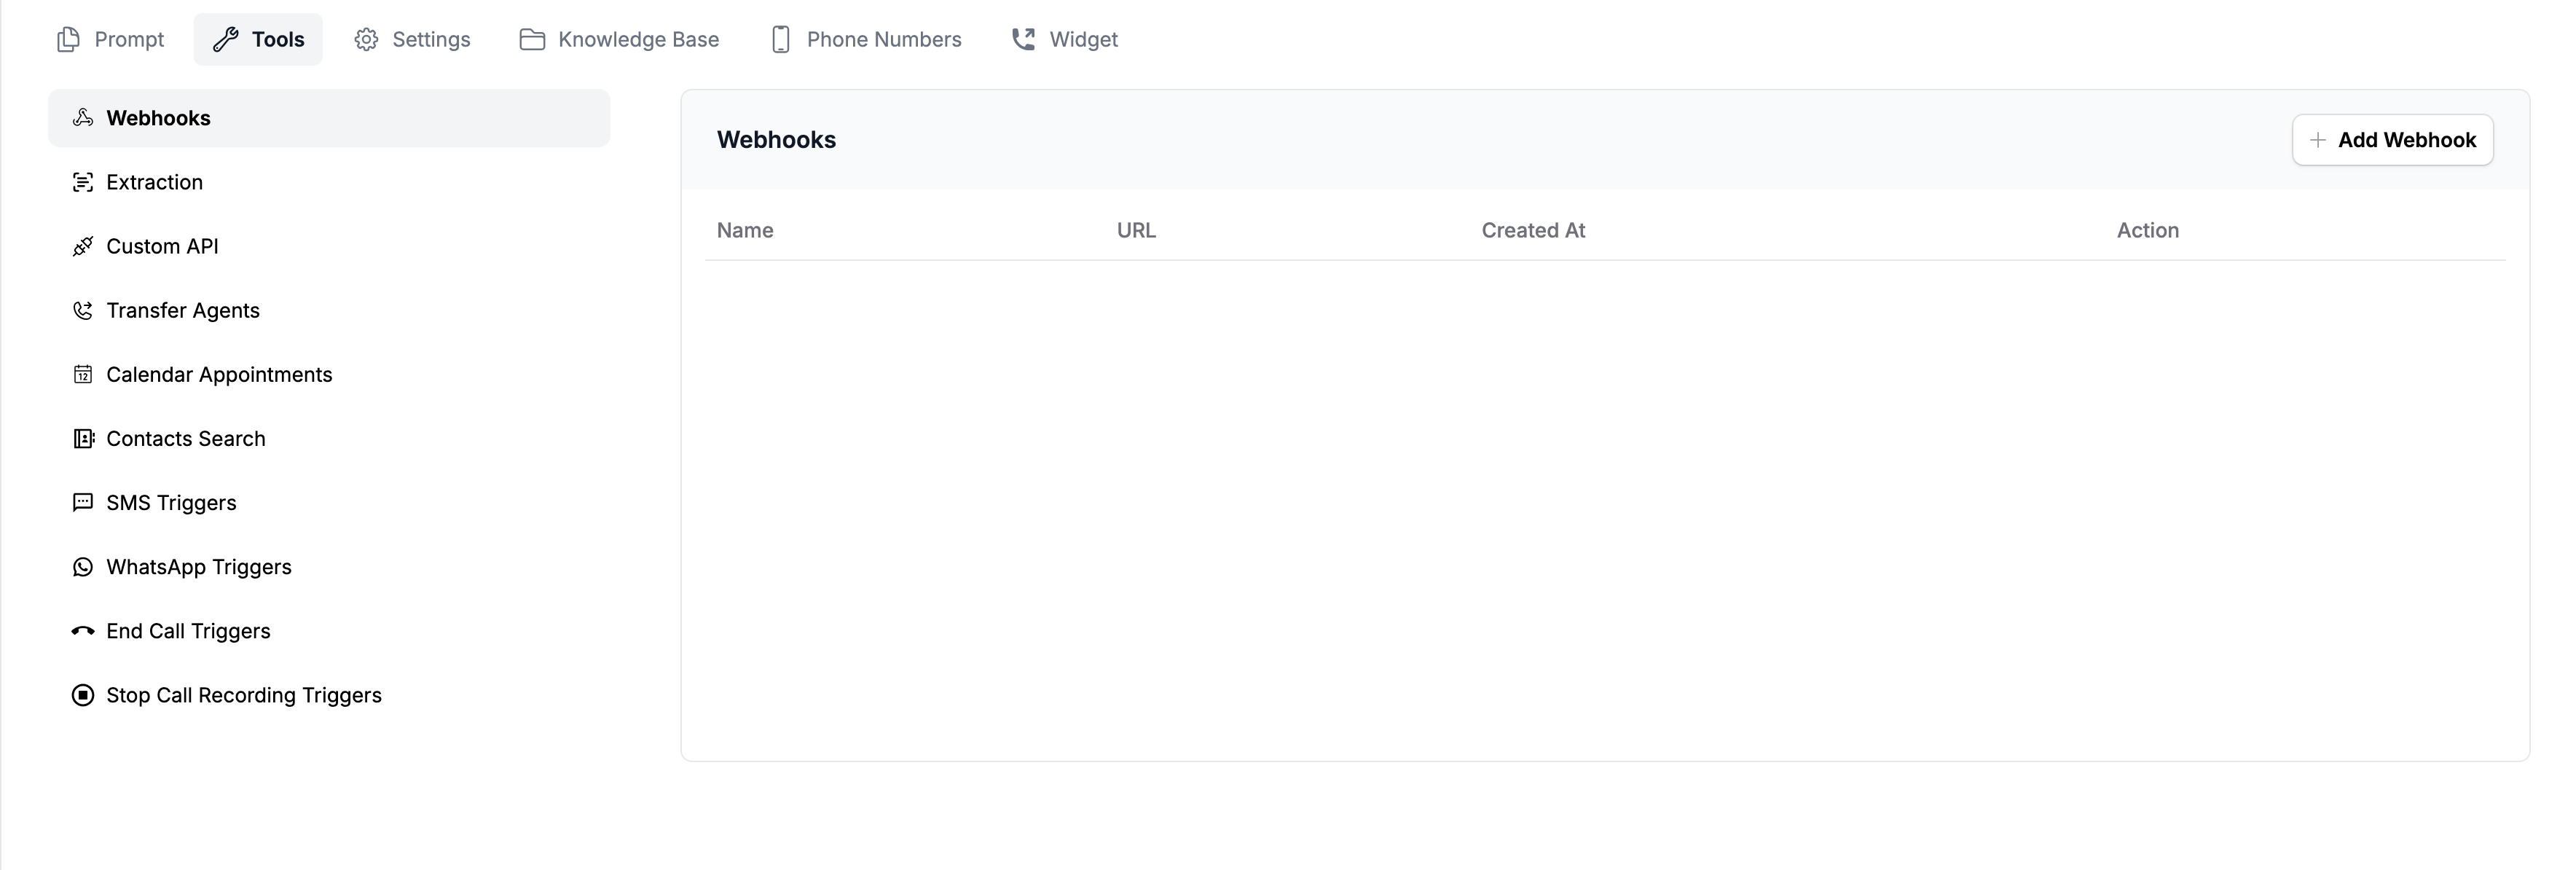
3
Add a New Webhook
Click the Add Webhook button. A configuration window will appear.
4
Enter Webhook Details
Fill in the core destination details:
- Name: A descriptive name for your webhook (this can be anything you choose to help you identify it).
- Webhook URL: The API URL or endpoint where you want the data to be pushed.
5
Configure Authorization (Optional)
If your receiving webhook or API requires authentication, toggle Authorization on. This will reveal two additional fields:
- Header: Enter the name of the expected header (e.g.,
Authorization,x-api-key). - Key: Enter your secure token or API key.
6
Save and Activate
Click Add to finalize. Your webhook is now active and ready to use.
How It Works
Post-Call Trigger: For every call handled by this assistant, the webhook will automatically trigger immediately after the call ends. The extracted payload from the conversation will be pushed directly to your configured URL.