1
Navigate to the Custom API Tool
- Select Assistants from the left navigation panel.
- Choose the specific assistant you want to configure.
- Go to the Tools tab.
- Select Custom API.
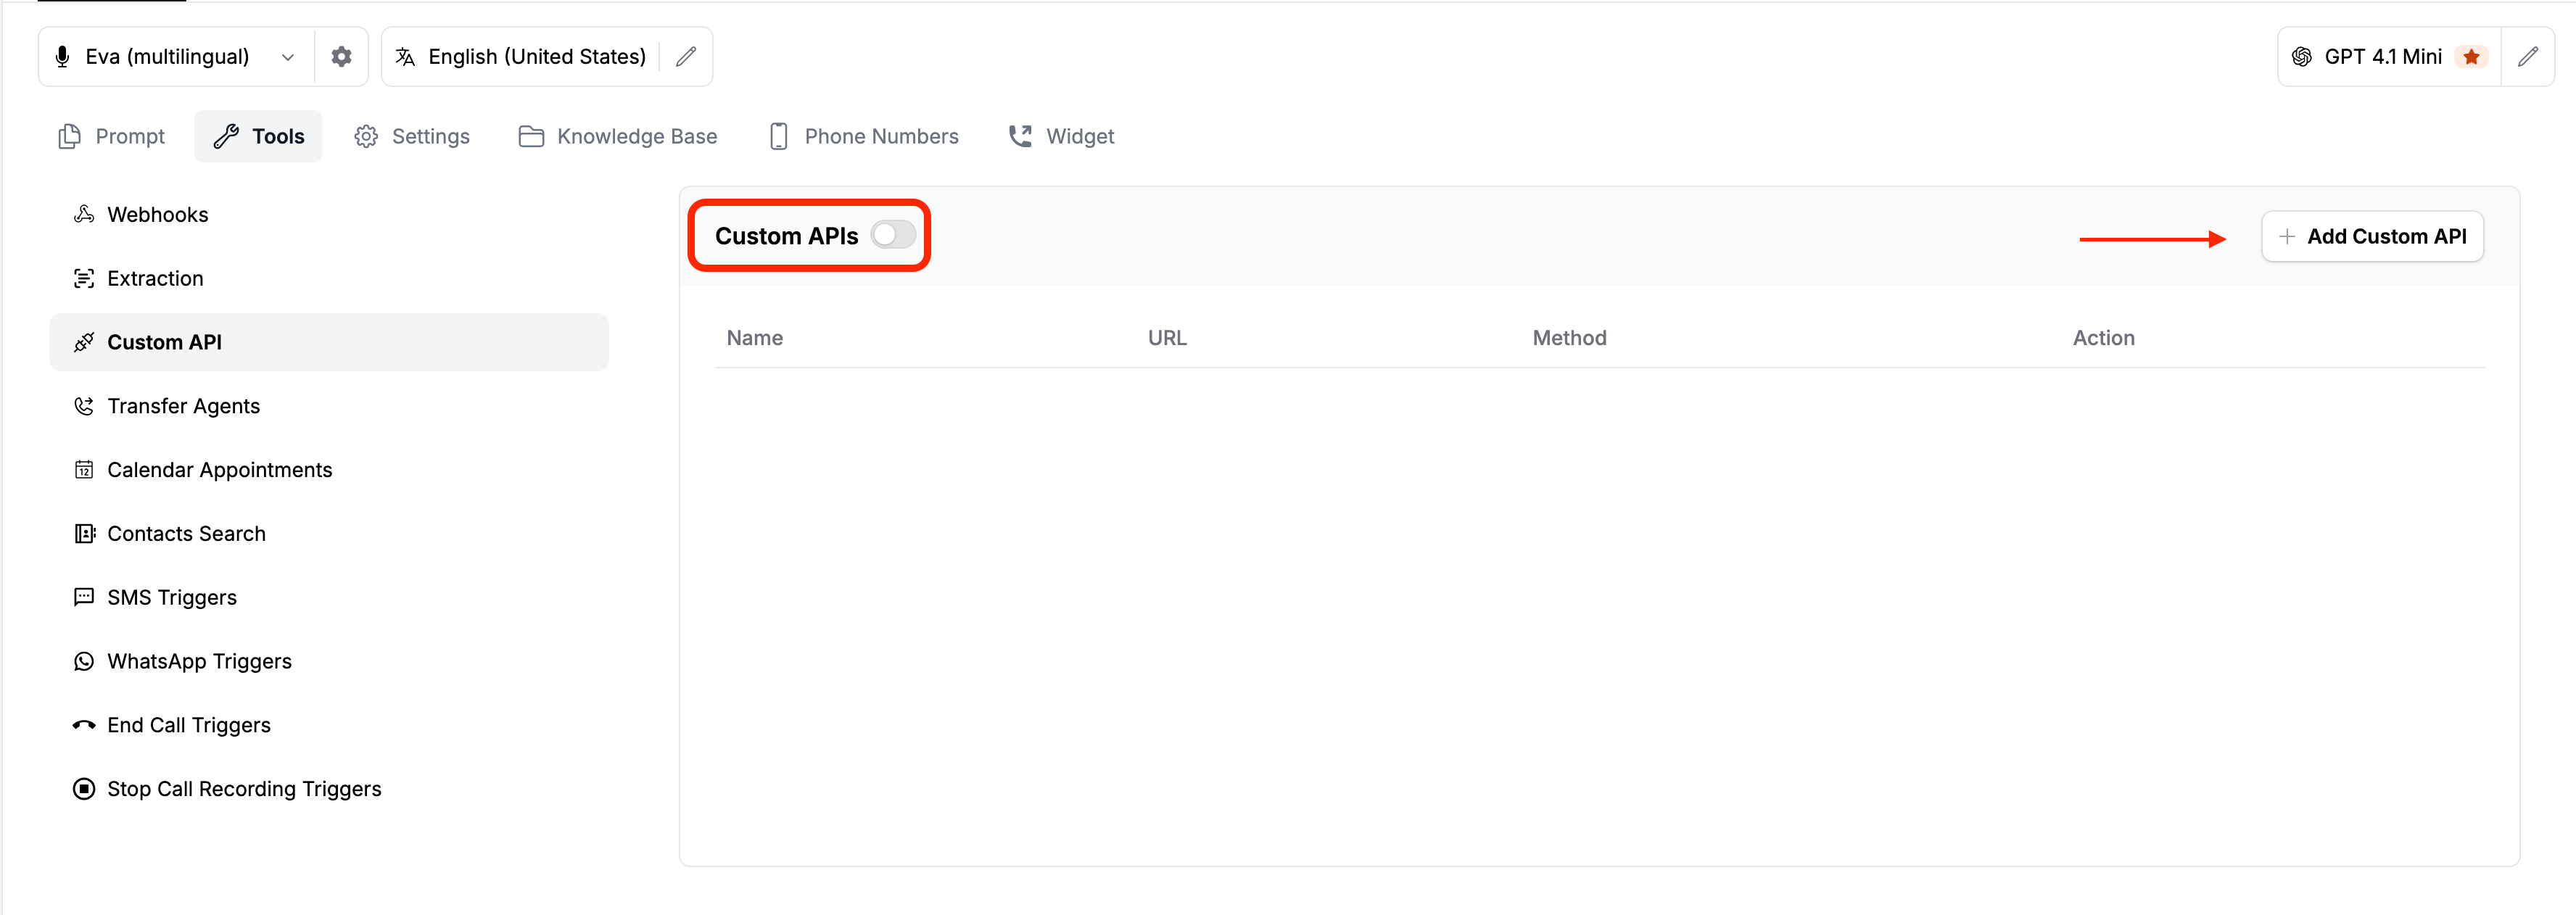
Toggle it ON: By default, this feature is toggled off. Make sure to toggle the Custom API feature ON in the Tools menu so your configured APIs are active.
2
Define the API Name and Trigger Prompt
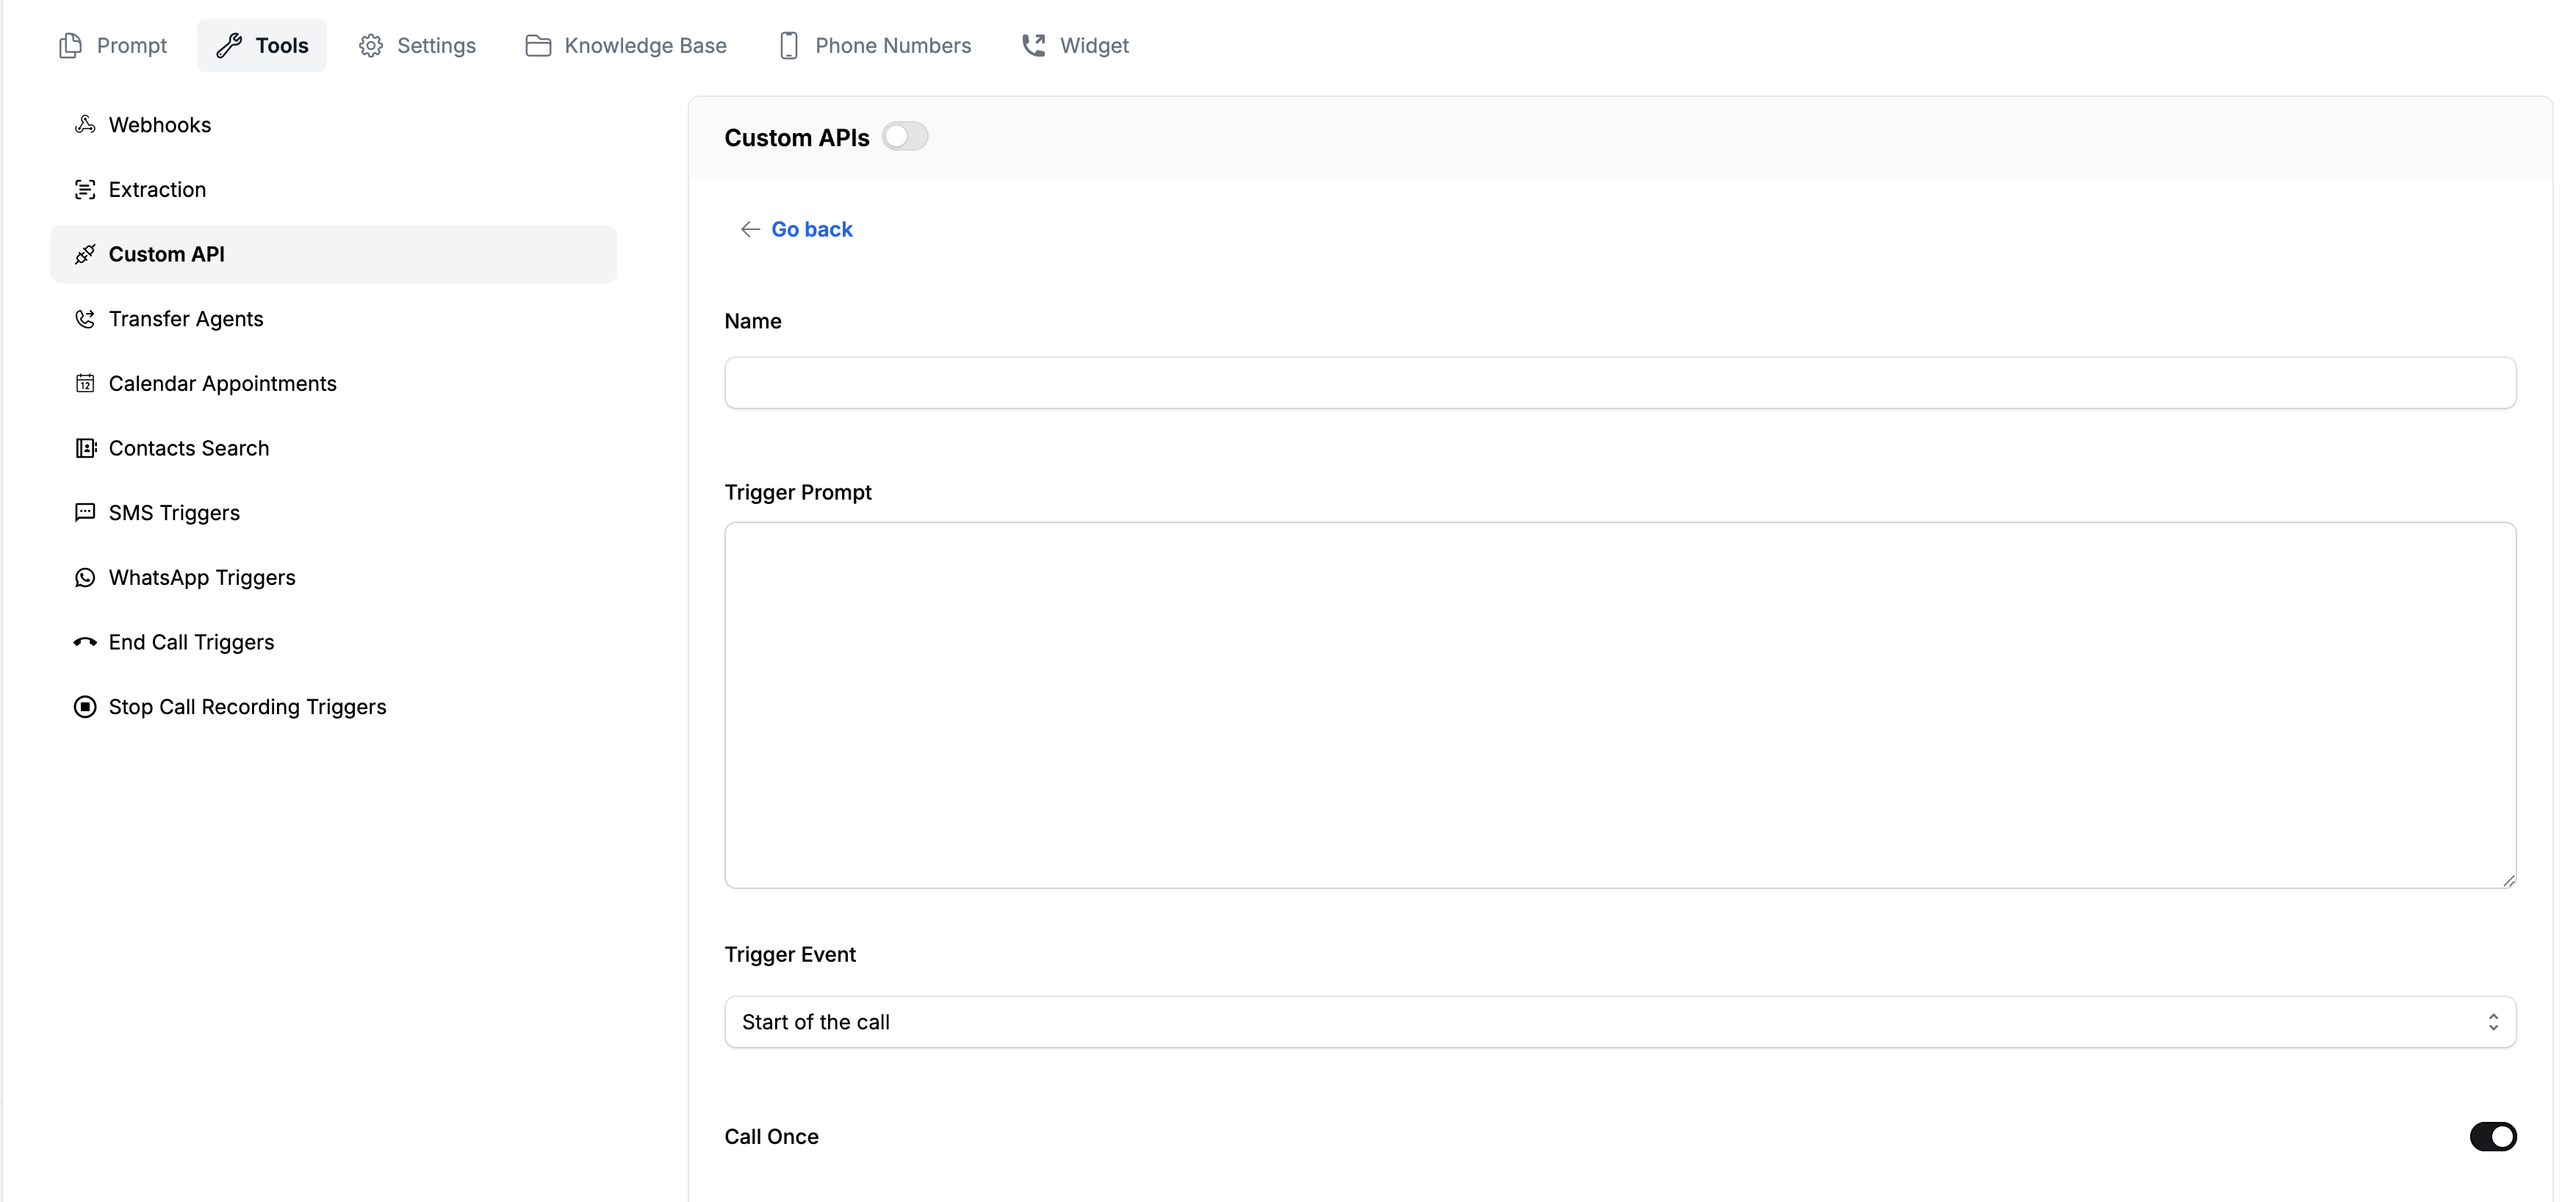
- Name: Give your API a recognizable name.
- Trigger Prompt: Describe in human language when this API should trigger and what it should extract.
“Trigger this API after the customer has confirmed their delivery slots.”Example of Trigger & Extraction:
3
Select the Trigger Event
Choose exactly when in the call lifecycle this API should execute.
For more details on Call Status configurations, click here to read our Call Status Guide.
4
Configure Request Details
Below the trigger event, configure how the request is made to your server.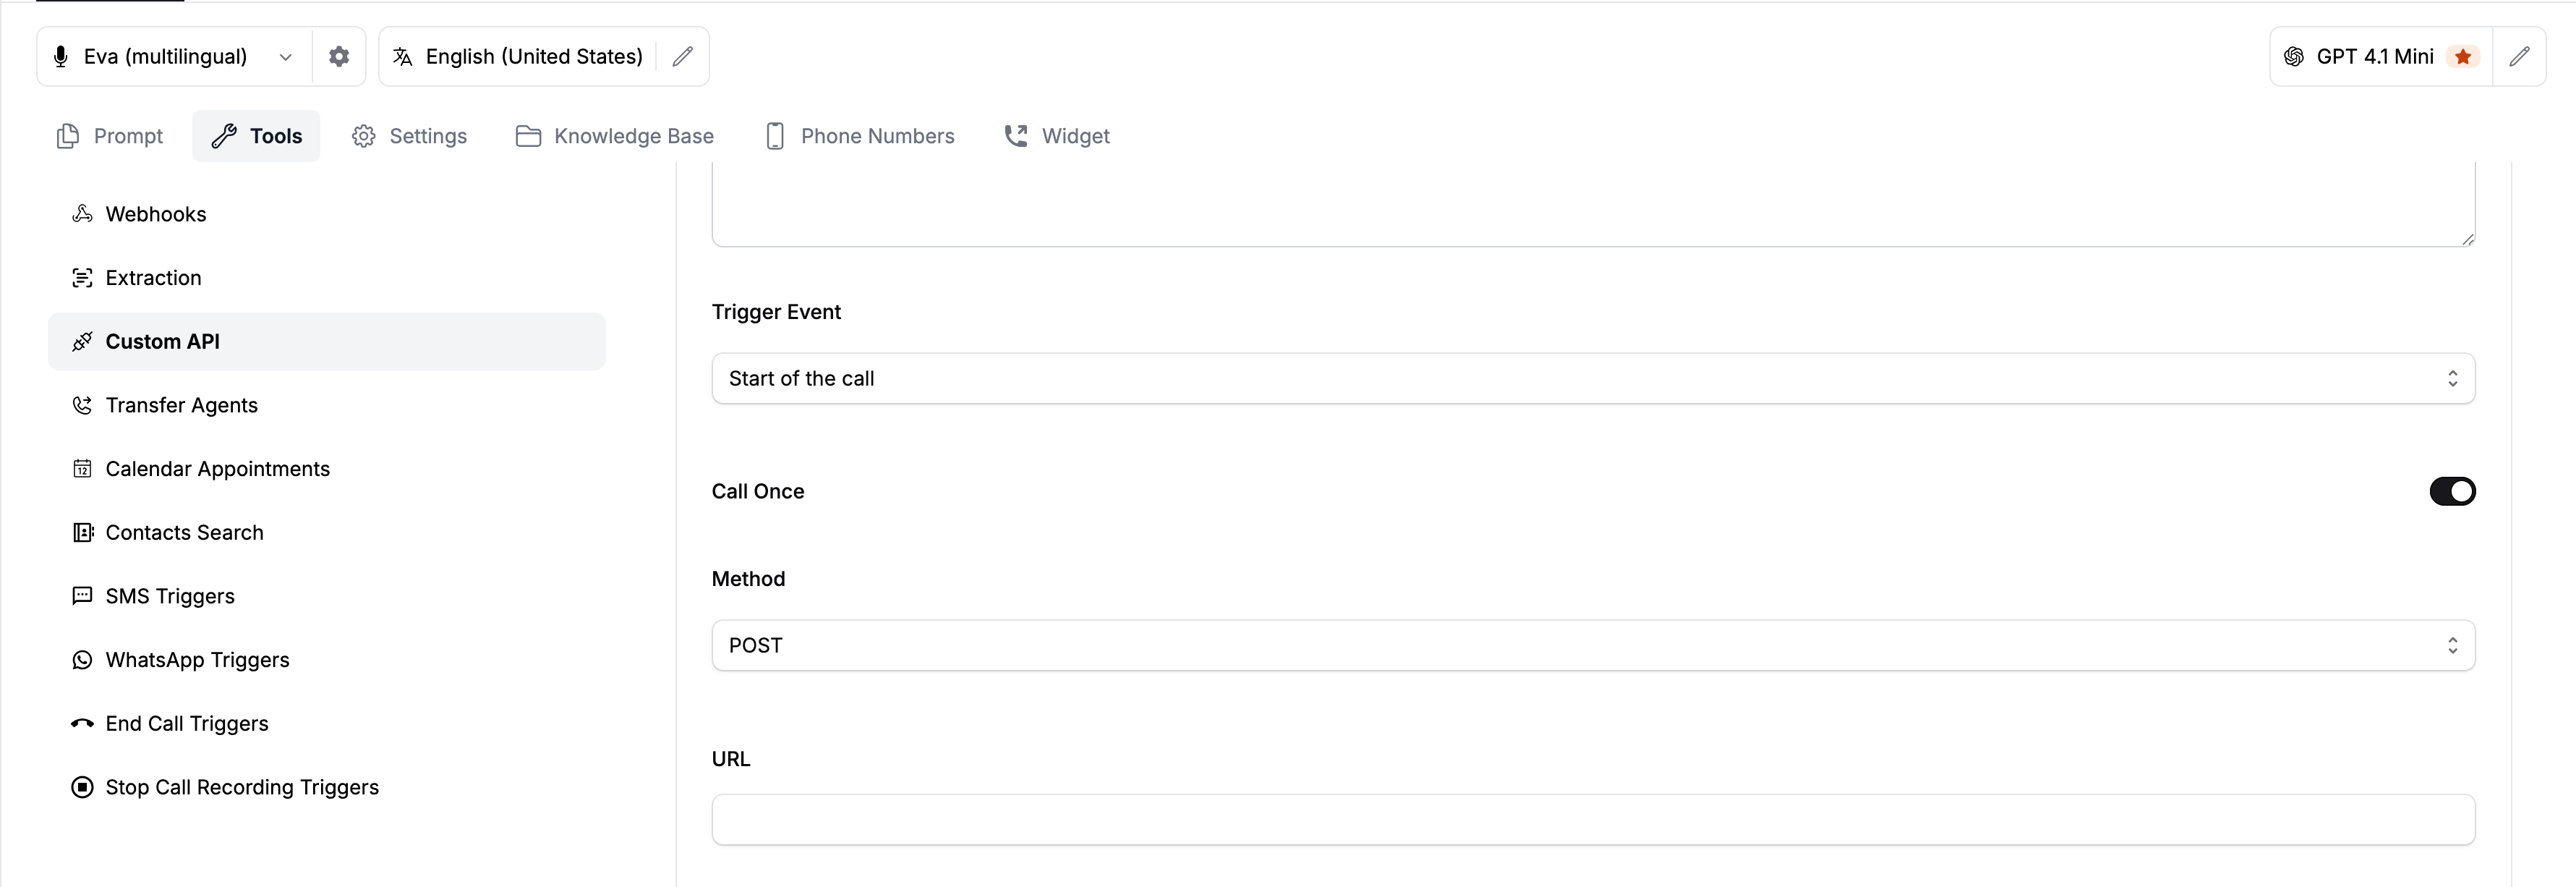
- Call Once: If turned ON, the API triggers only one time. If turned OFF, it can trigger multiple times whenever the condition is met. (Note: This toggle only applies to the “During the call” event; all other events inherently only call the API once).
- Method: Select the HTTP method (GET, POST, or PUT).
- URL: Enter your complete endpoint URL (must include
http://orhttps://).
Dynamic URLs
You can make your URL dynamic by wrapping variables in curly braces, such ashttps://test.com/test/{ID}/users. To pass data into this URL, you must add an Input Param named ID, set its location to Body, and turn on Persist Param to pull the value from state variables.5
Define Audio Responses
You can configure static messages that the Assistant will speak to the customer during the API’s execution lifecycle.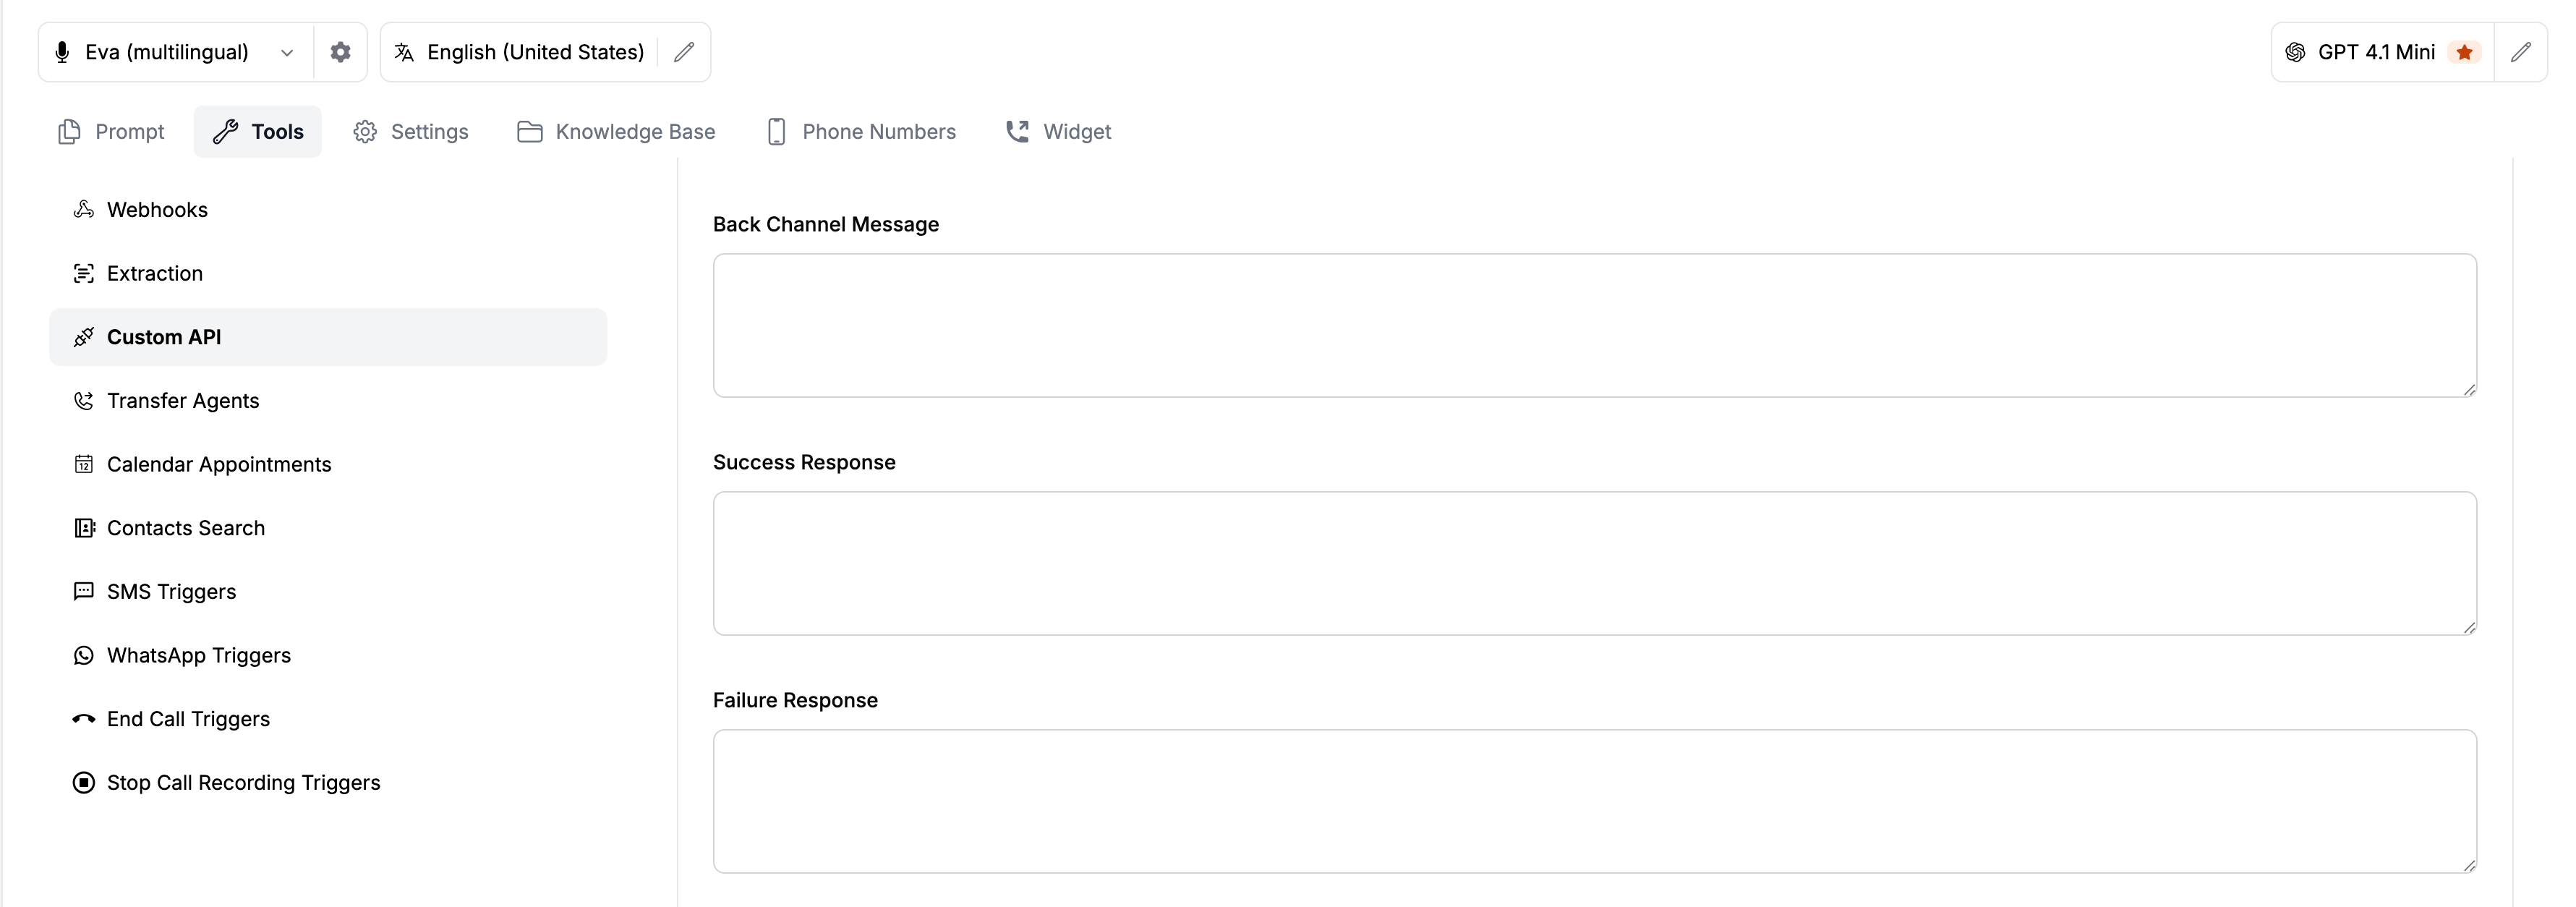
- Back Channel Message: Played while the API is executing.
- Example: “Please wait while we fetch your details.”
- Success Response: Played if the API returns data successfully.
- Example: “We have received your details, can you tell your issue?”
- Failure Response: Played if the API fails or times out.
- Example: “Sorry, we were not able to get the details, is there anything else I could help you with?”
6
Configure Input Parameters
Input parameters define what attributes the Assistant sends to your API. Click Add Input Param to configure: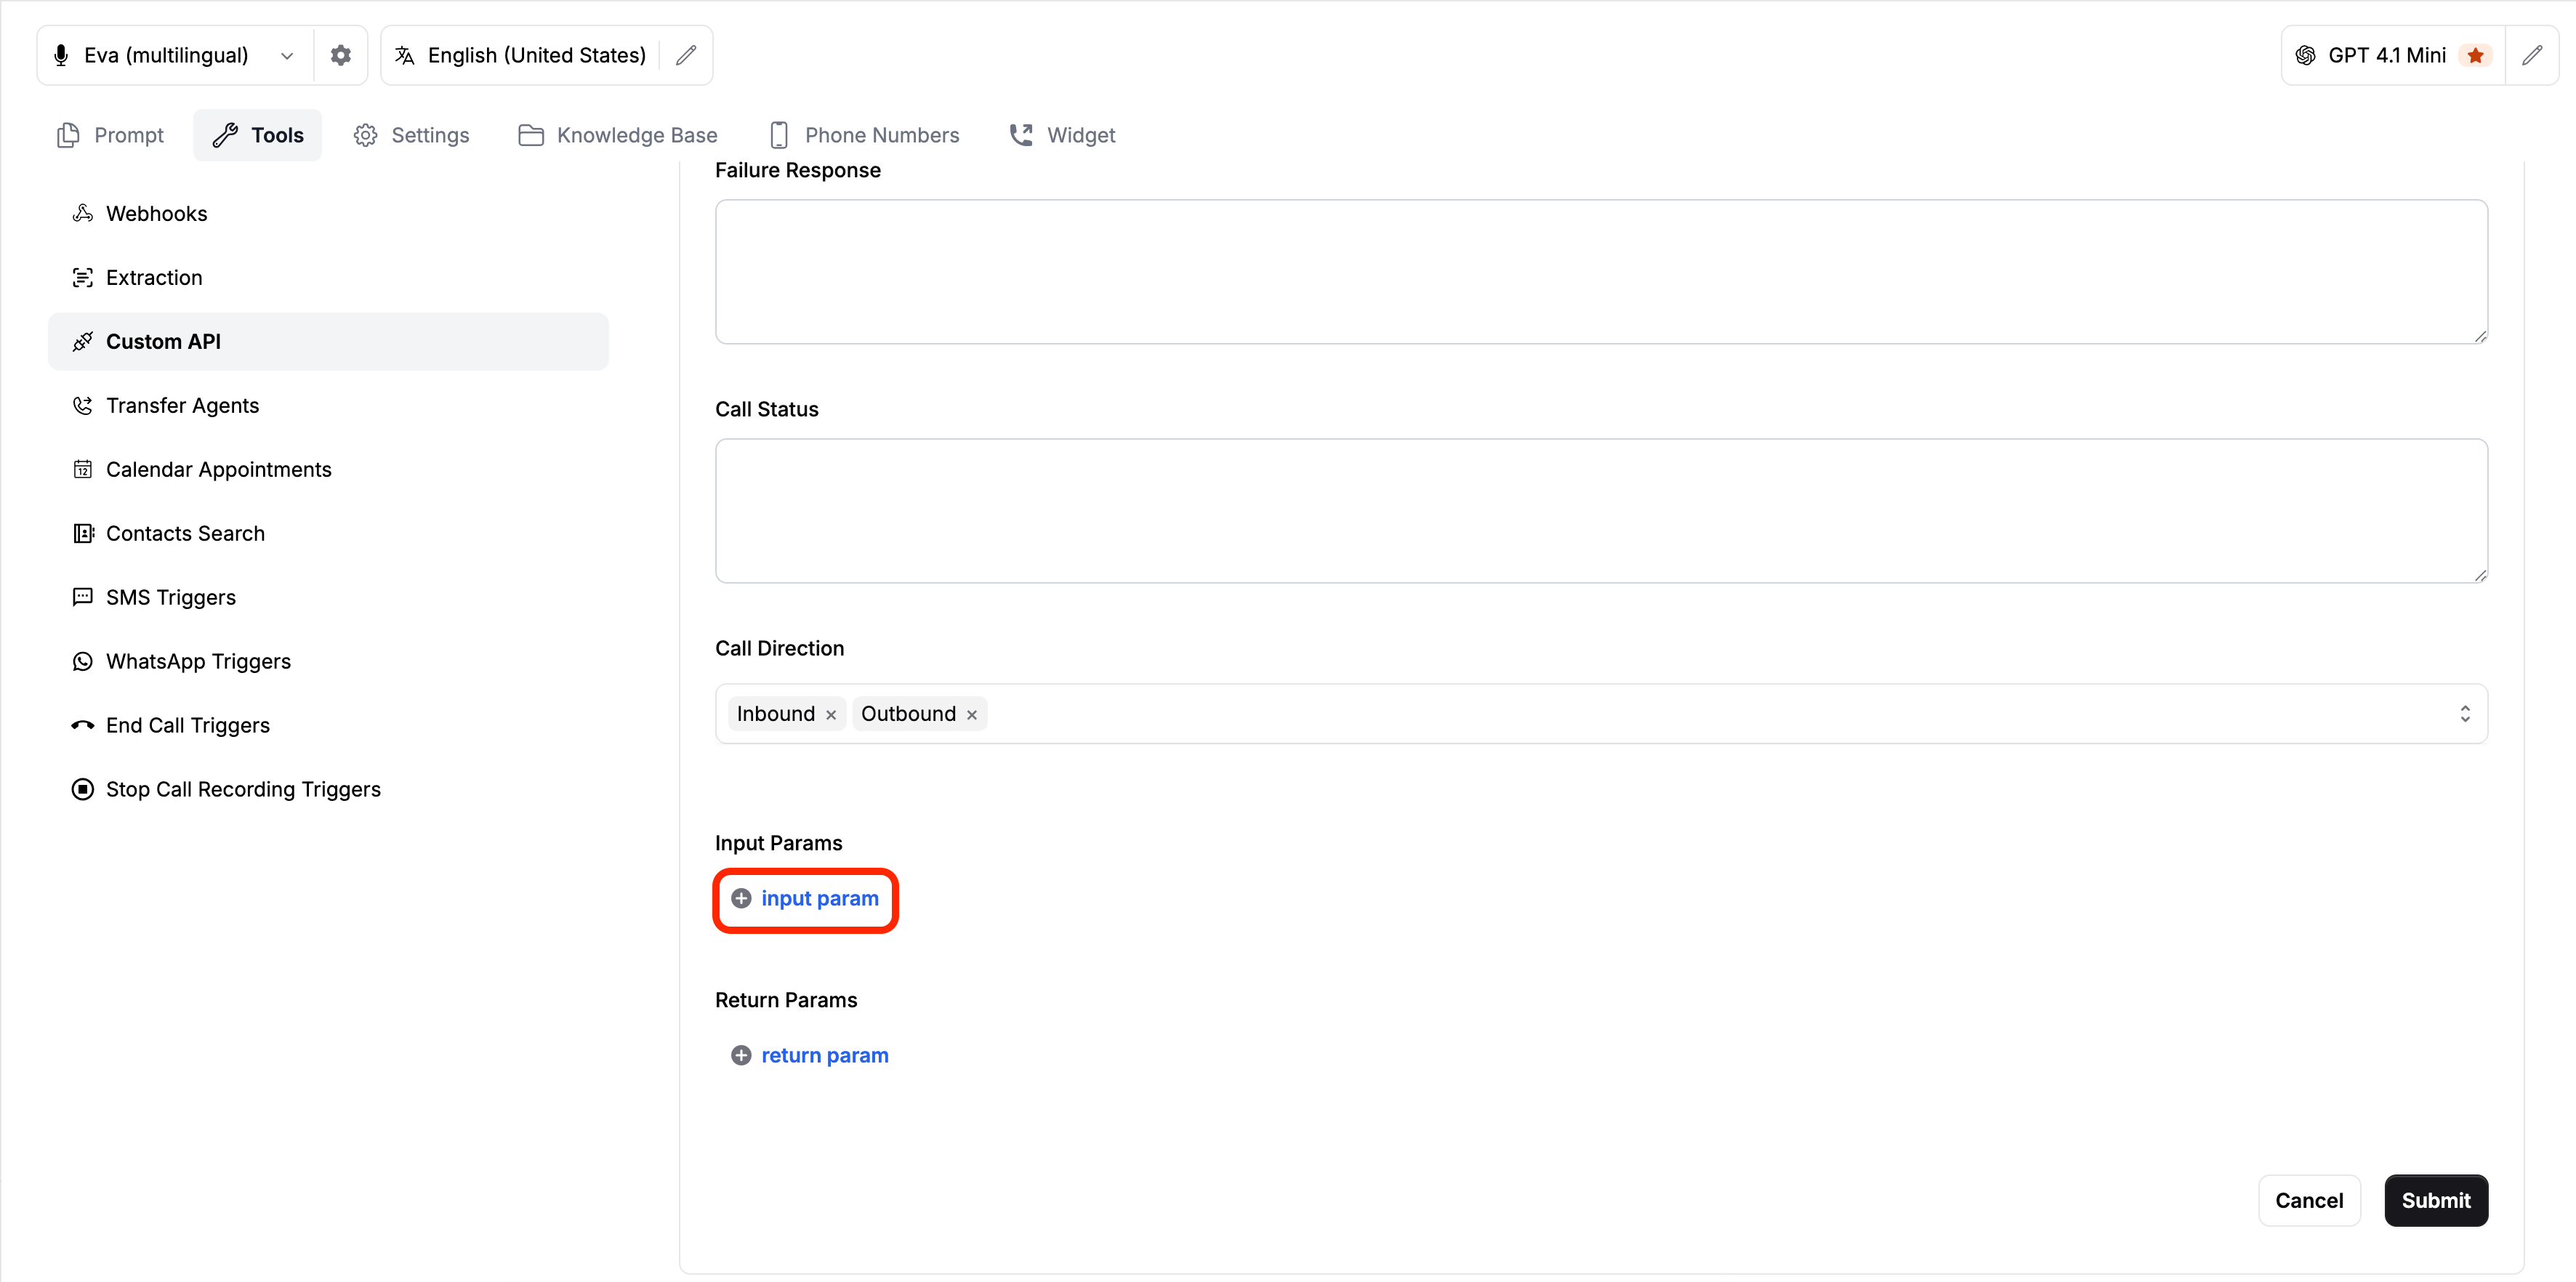
7
Configure Return Parameters
Return parameters define what data your API sends back to the Assistant, and how the Assistant should use it. Click Add Return Param to configure: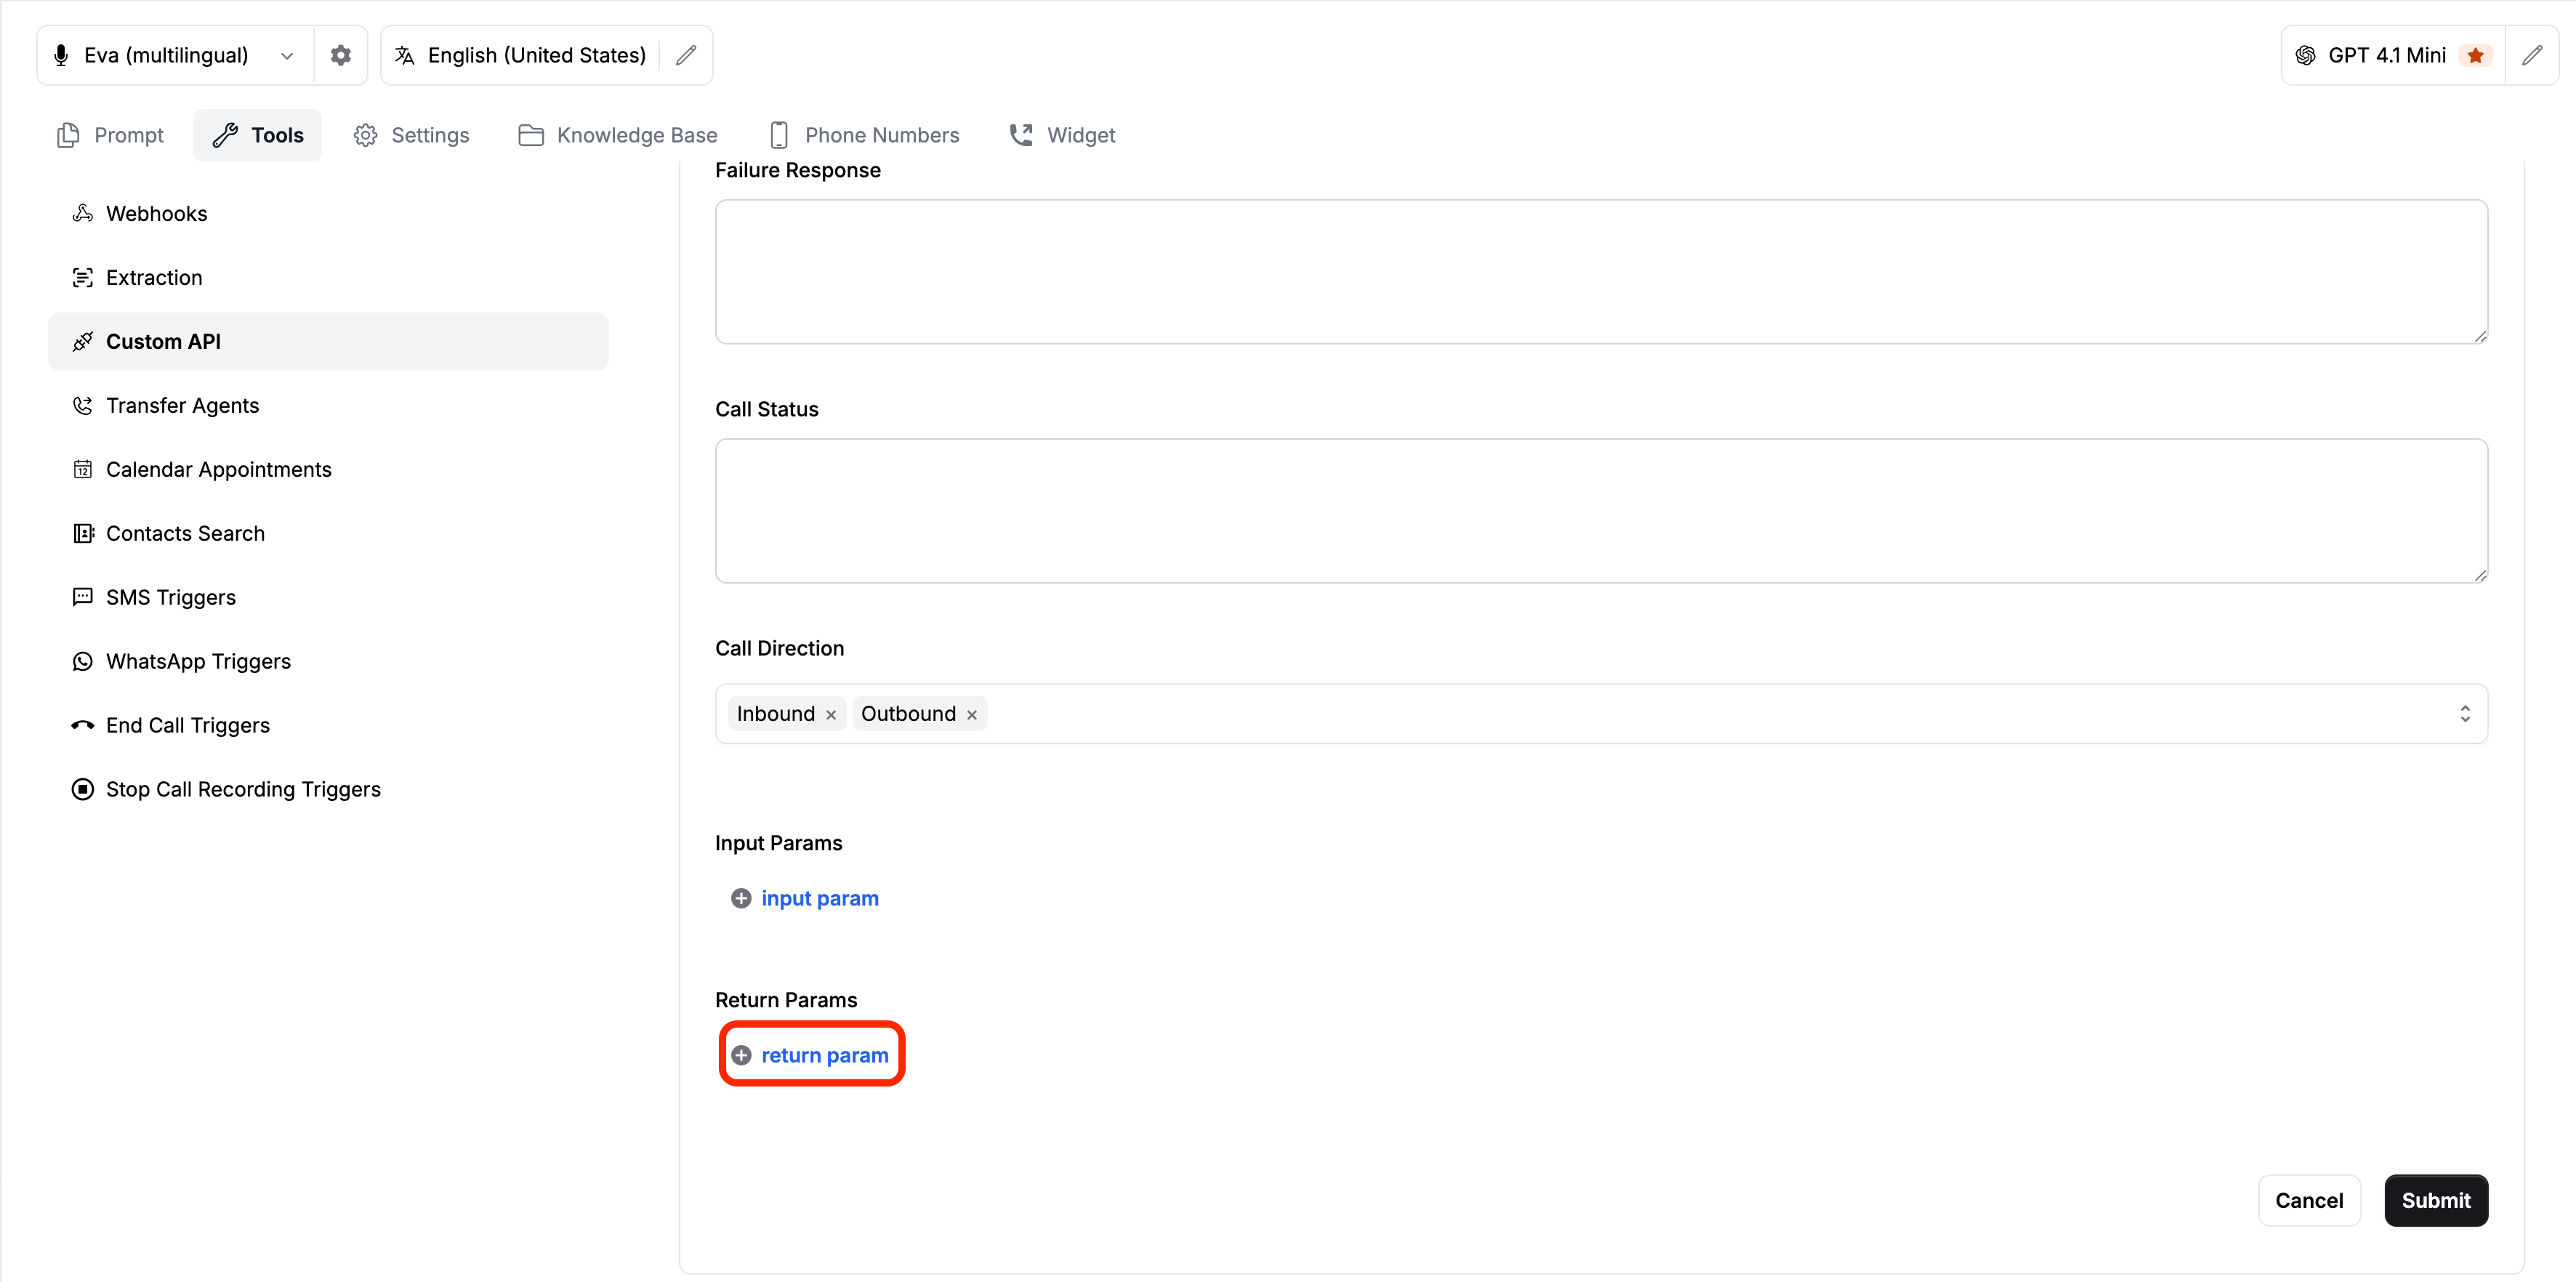
8
Save Your Configuration
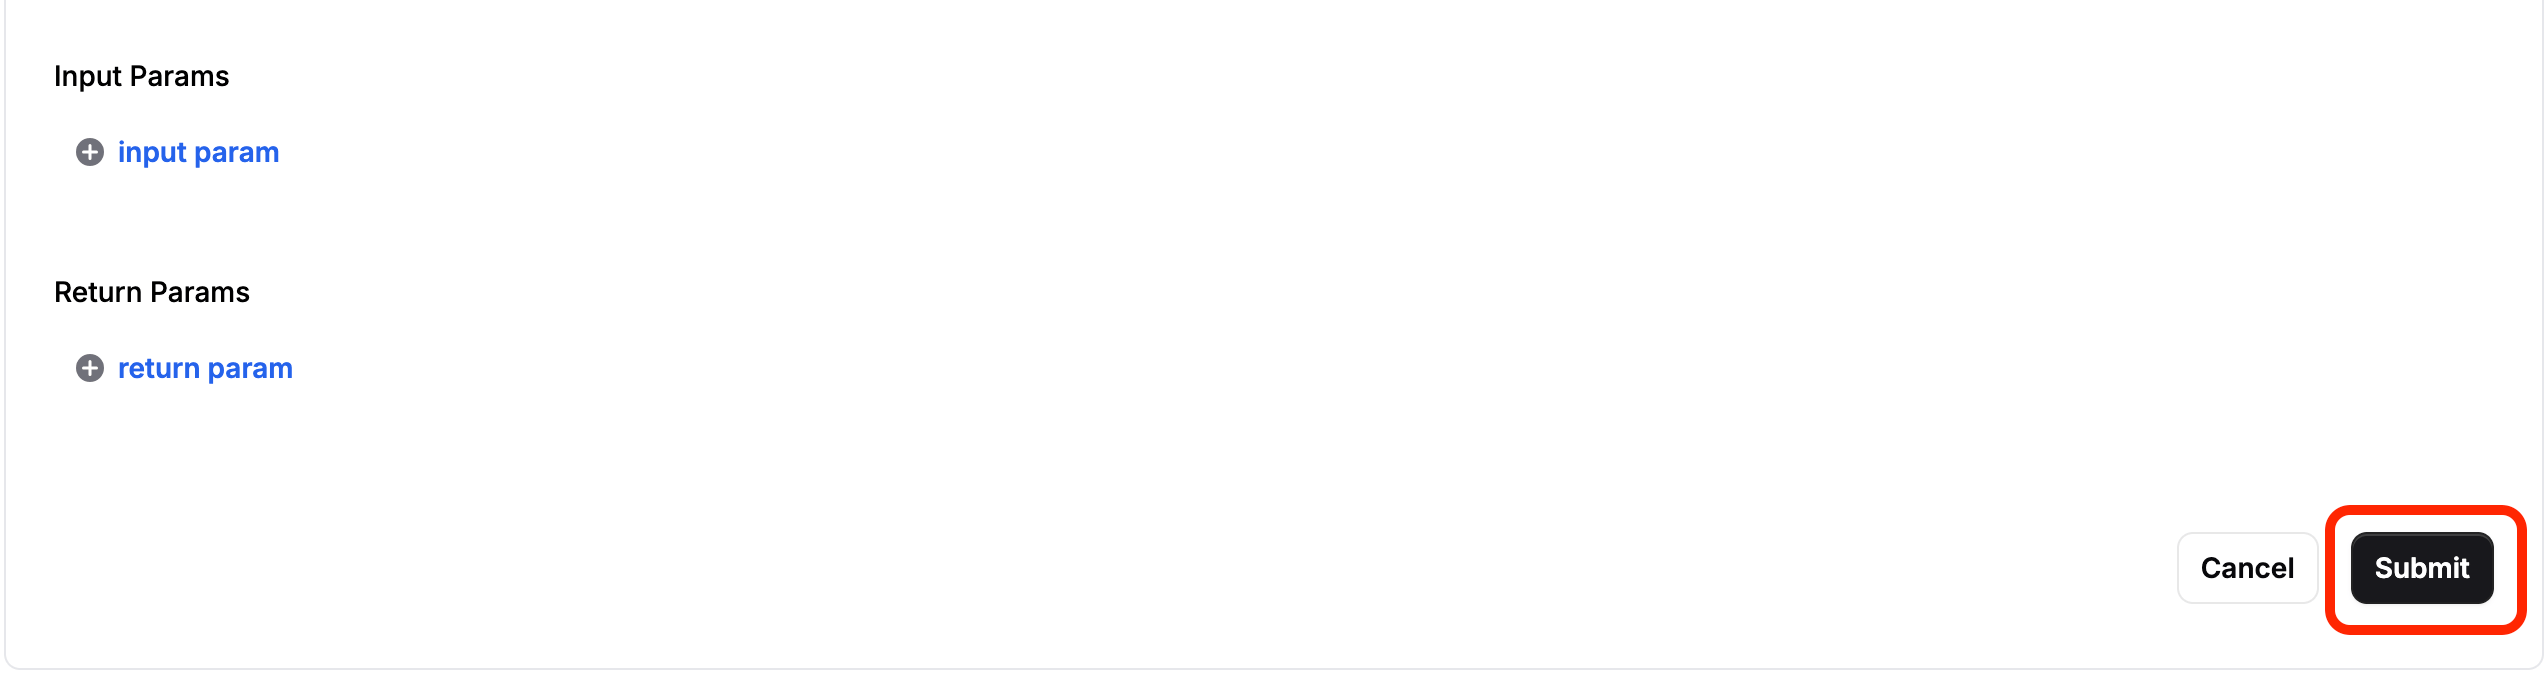
Once all parameters and settings are configured, click Submit at the bottom right corner of the window.